Regularly polishing your vehicle is critical to maintaining the condition of your paintwork and preserving your car’s overall value in the long term. Car polish allows car owners to restore shine to dull surfaces, remove scratches and provide a layer of protection from the elements. However, the process of polishing and the best practices for doing so aren’t always obvious. Proper technique as well as the correct chemical/polish balance generally comes from trial and error and experience. This article will go over how to choose the right polishing product for your car as well as some best practices to follow when polishing your vehicle in order to reduce the chances of damage.
Choose the Right Polishing Product for Your Car
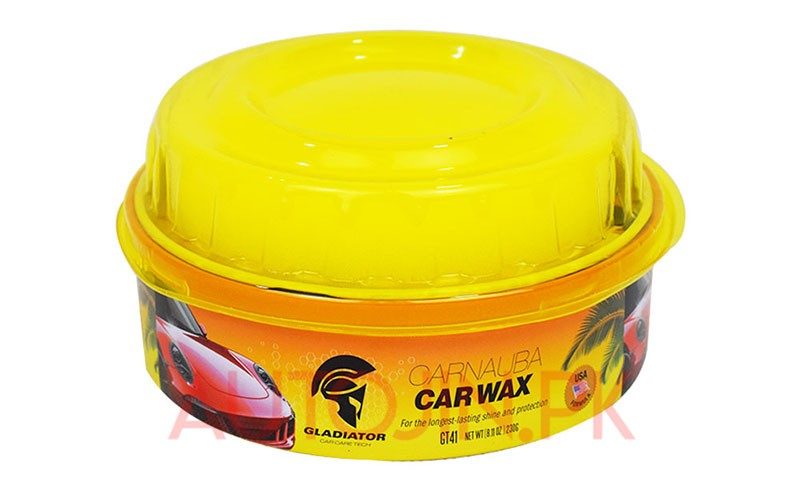
The first step to achieving great results with car polish is choosing the right polishing product for your car. Some polishing products may work better with certain vehicle paint than others, so you may have to do some experimentation to find the one that’s best for use on your vehicle. If you’re not sure where to start when it comes to choosing the best polish for your car, consult a car detailer professional or a store that specialises in car care products.
Prepare the Surface of Your Car Before Polishing
Before you begin polishing, it’s important to make sure the surface of your car is clean and free from dirt and debris. You should always use a soft cloth and some mild soap and water to wipe down the surface of your vehicle before applying any car polish. Not only will this ensure that the polishing product adheres to the surface of your vehicle properly, but removing any debris beforehand will also go a long way to reducing scratches or micro-abrasions during the polishing process.
Use Circular Motions When Applying the Polish
Once you’ve selected the right polish and prepared your car, it’s time to start applying the car polish. When applying polish, it’s important to use circular motions in order to achieve even coverage and mitigate the appearance of swirl marks after the process is complete.
Start with a small amount of polish and work your way up until you have enough for a thin layer over the entire surface. This will help you avoid any streaks or uneven patches. If you’re feeling a little overwhelmed, you can work in small areas, keeping a consistent pace to ensure that the polishing product on the rest of the vehicle doesn’t dry too quickly.
Use Clean Microfibre Cloths for Buffing & Removing Excess Polish
After you’ve applied the polish, it’s important to use clean microfibre cloths for buffing and removing any excess polish. Be patient during this process and ensure you remove all of the excess car polish left behind. This will help ensure that the surface areas of the vehicle have been evenly polished and that there are no streaks or smudges left behind. Make sure to keep multiple cloths on hand so that you can switch them out as needed.
Allow Adequate Time for Drying After Polishing
Once you’re confident that you’ve completed the polishing process, it’s important to allow adequate time for drying before driving your car. Depending on the type of product used, this could take anywhere from 30 minutes to several hours. This will help ensure that your polish has completely set and reduce the chances of dirt and debris sticking to your vehicle upon driving it after polishing. If possible, ensure your car dries away from direct sunlight, preferably in a garage. Letting your car dry in direct sunlight will increase the chances of water spots appearing. If you don’t have a covered area to store your vehicle away from direct sunlight, try cleaning and polishing your vehicle during the early morning, late evening or the coolest part of the day.


